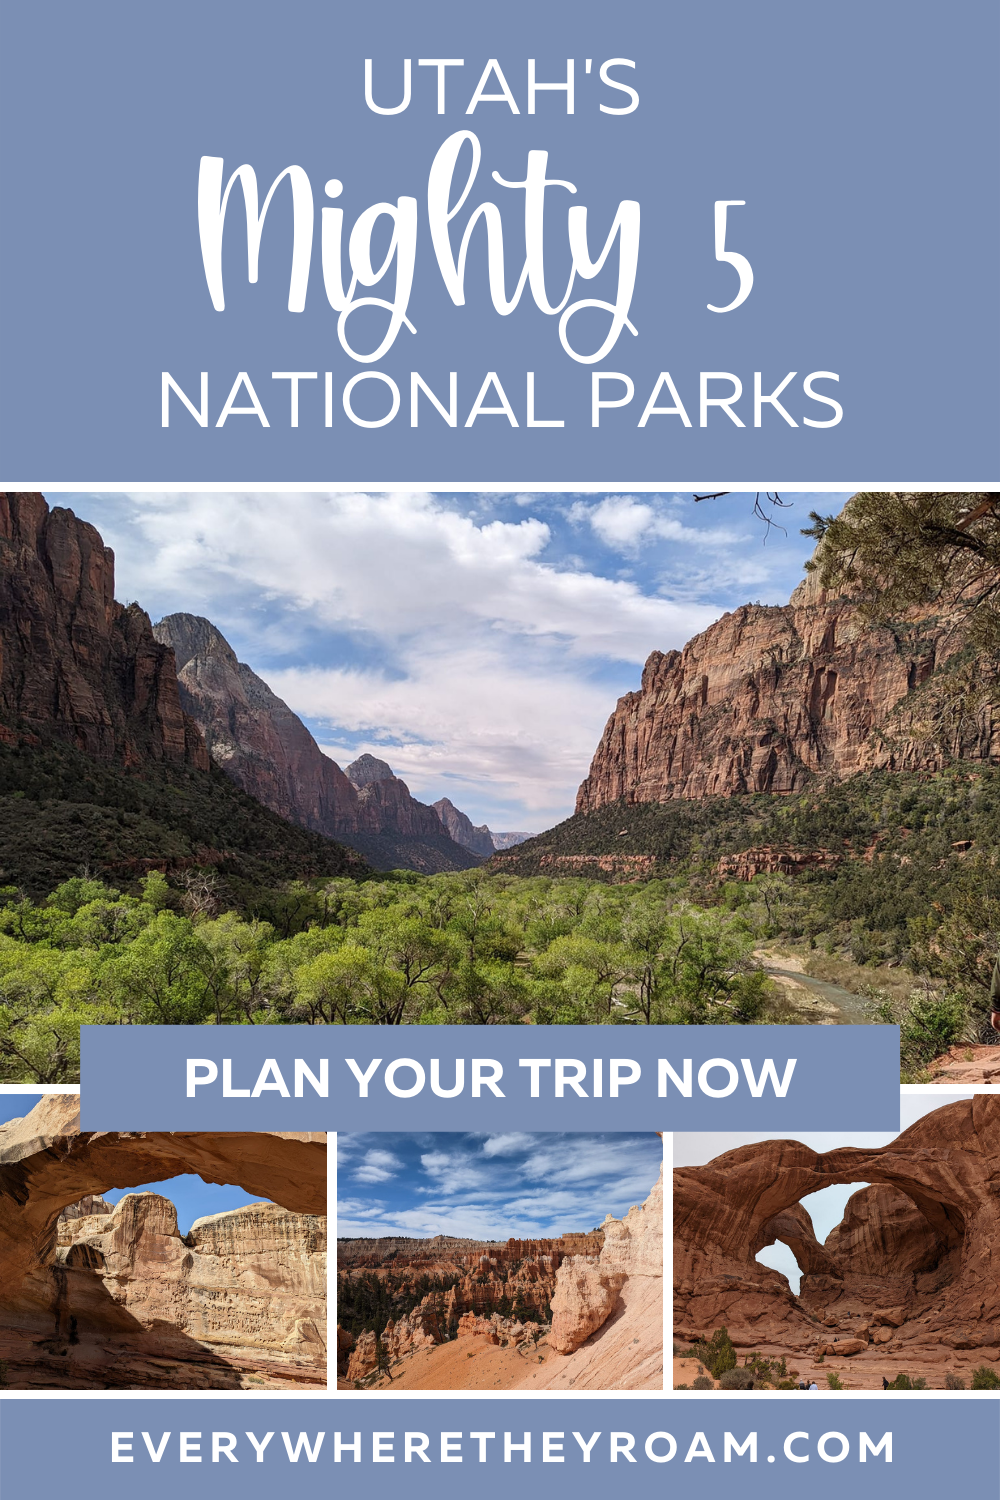
Ready for Stunning Views in Utah’s Mighty 5?
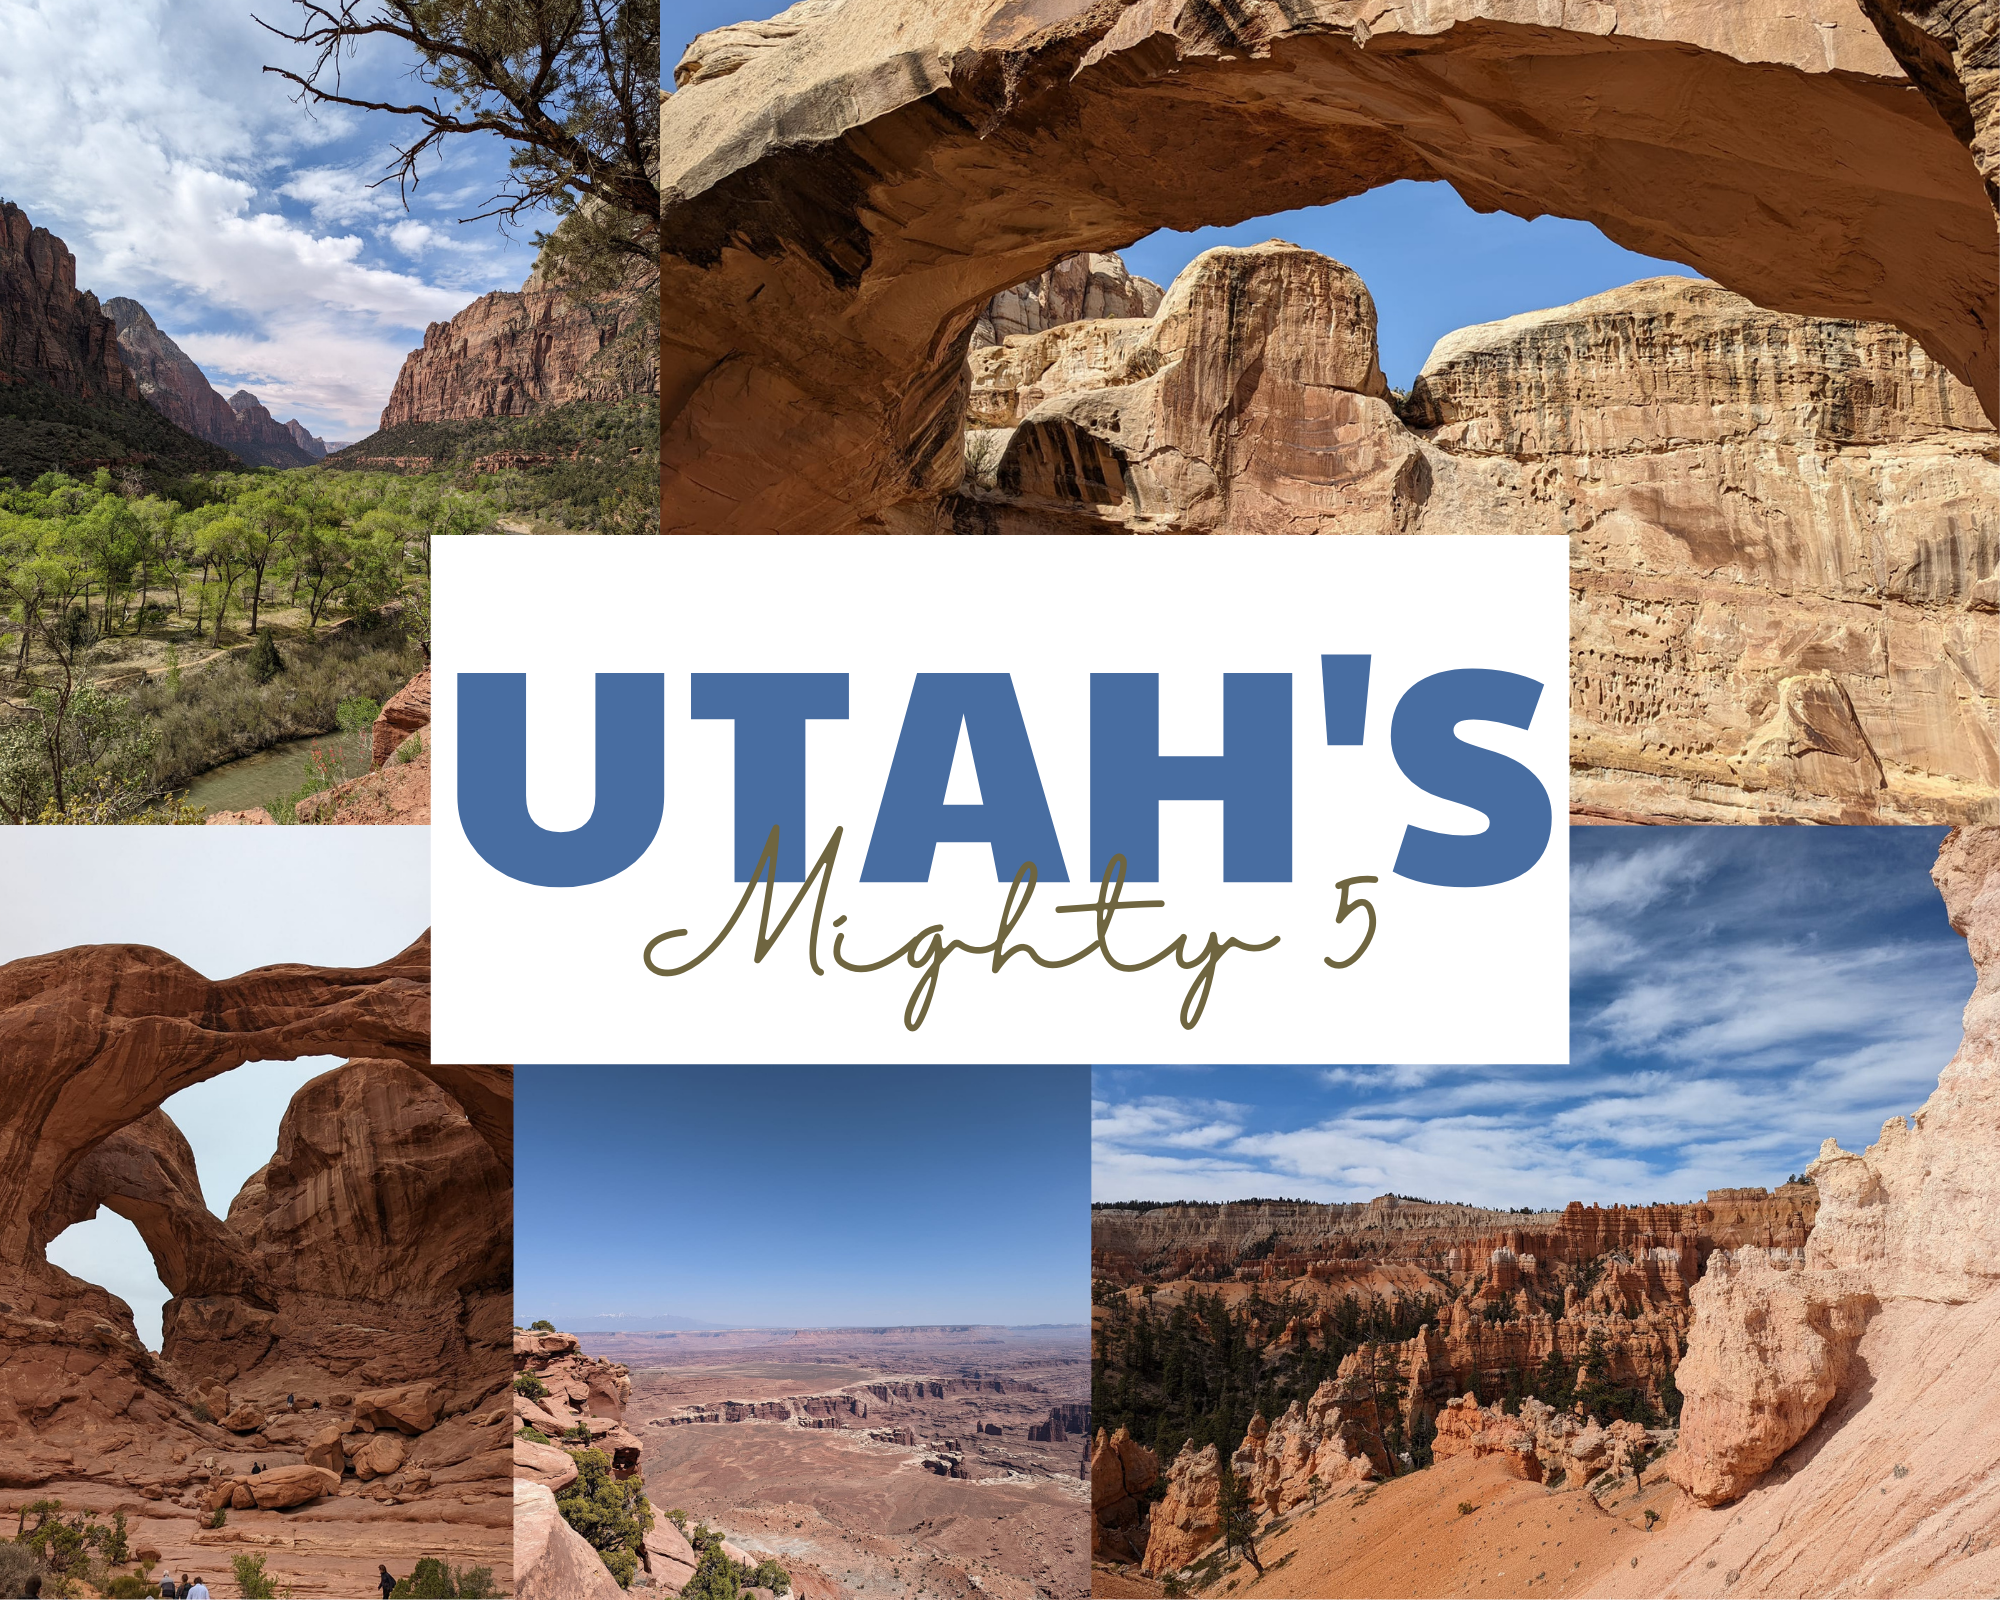
If you’ve never considered traveling to a National Park (or Utah for that matter), do yourself a favor and add it to your list! Our family spent the last 8 days in Utah exploring the “Mighty 5,” which includes Zion, Bryce Canyon, Capitol Reef, Canyonlands and Arches National Parks. Living in Ohio, the views we have are so much different than what we saw in Utah. The state and all of the parks were absolutely gorgeous!
Even if you aren’t a fan of hiking or can’t get around easily, don’t let that scare you away. There are plenty of very do-able hikes for even those who are in wheelchairs. Every park we visited had plenty of viewpoints or short hikes with paved walkways and stunning views! Plus, just driving through the parks or hopping on a free shuttle (available in a few parks) is another great way to take in all the scenery.
If you’re considering your own trip, you may have questions about costs, lodging, flights, etc. Read on to learn more about how you can plan your own trip to the Mighty 5!
Is there a cost to enter the parks?
In Utah, yes, there is a cost to enter each of the National Parks. Passes for each park cost between $30 and $35 and grants you and everyone in your vehicle 7 days access to the park. As you can imagine, those fees can really add up—especially when you multiply them by the 5 parks in Utah.
Fortunately, there are a variety of options for you to save some money! You will find free or discounted annual or lifetime passes available for a variety of groups including military, seniors and 4th graders right on the National Park Service’s website.
4th Grade “Every Kid Outdoors” Pass
If you’ve read any of my posts, you probably know how much we love our annual passes! We’ve had annual passes to zoos, science centers, botanical gardens, amusement parks, etc. They are such a great deal and really save our family money! This year, our middle kiddo is in 4th grade so we took advantage of the “Every Kid Outdoors” Pass.
This pass gives your 4th grader, and those in your vehicle, access to hundreds of parks, waters and lands for an entire year. Just head to this website and print out a pass! This pass saved our family over $150 in park fees on this trip alone (we have a few more planned for this year)!
Jr. Ranger Badges
One of the reasons I love to travel is that it offers authentic learning for our kids. You can only learn so much in a classroom, but immersing them in new places, cultures, nature, etc. allows them to make connections and truly experience things they would never see in a classroom setting.
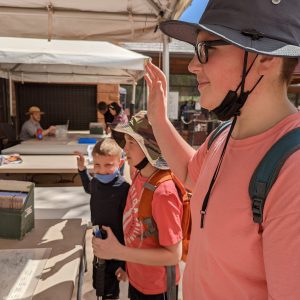
Most of the National Parks offer a Jr. Ranger program for kids (adults, you can participate too). This free program teaches kids such important lessons about our National Parks, nature, history and more. To participate, just head to the Visitor’s Center and get a workbook from one of the Rangers. Depending on your child’s age, they have to complete a certain number of activities in the park’s workbook to earn their badge. Once completed, return it to a Ranger in the Visitor’s Center and they’ll be “sworn in” as Jr. Rangers.
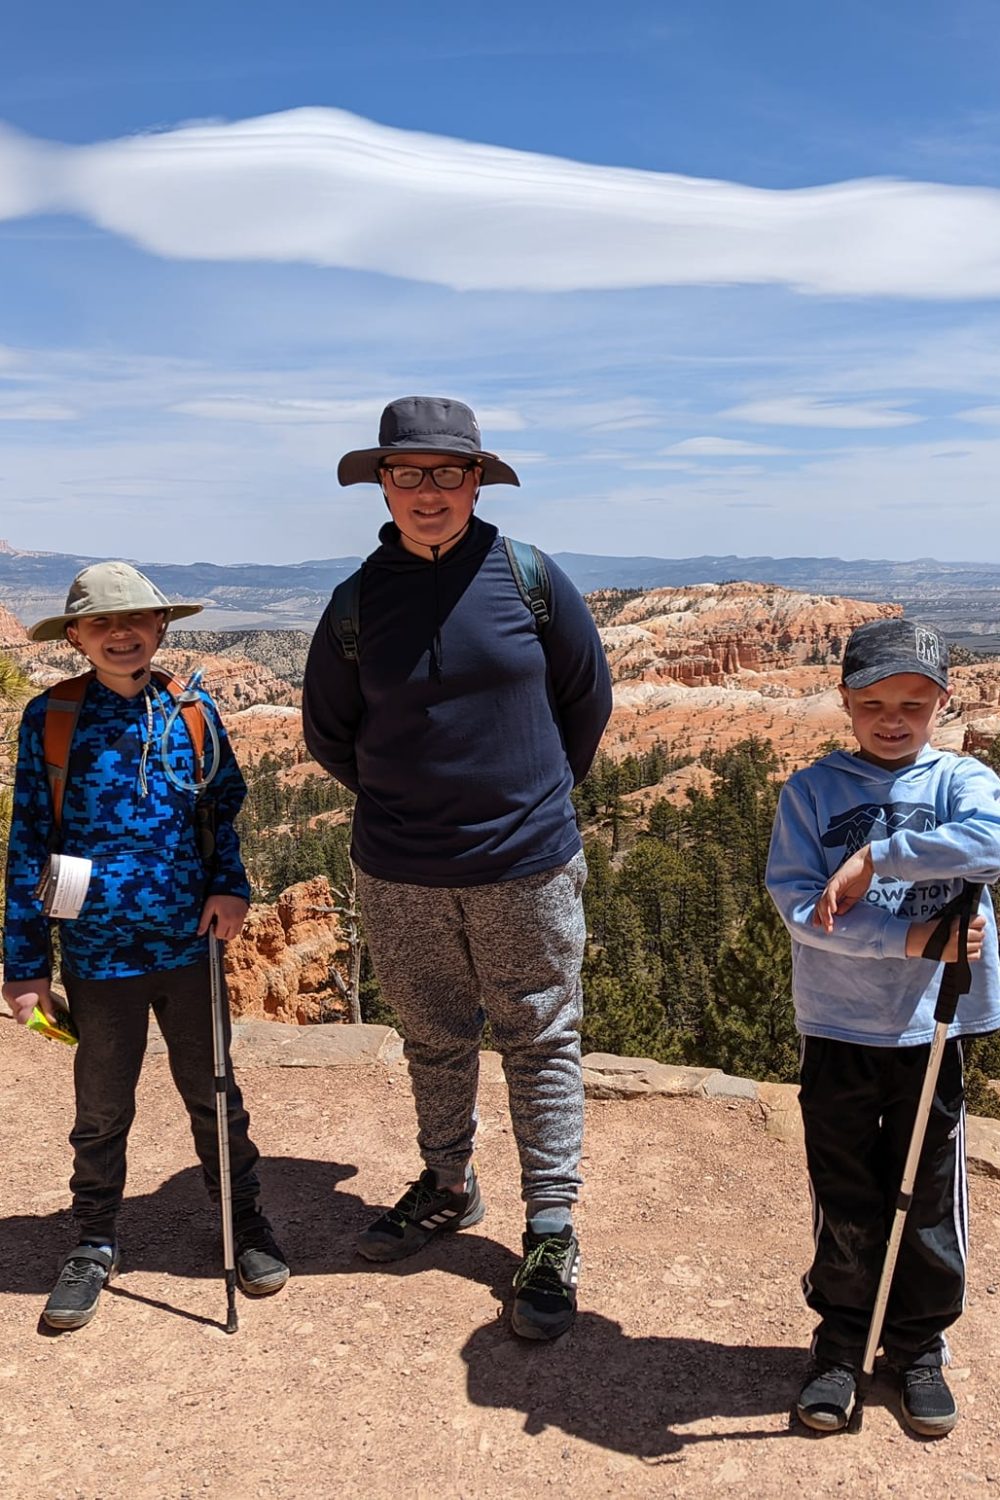
They’ll also receive a wooden Jr. Ranger Badge, which is laser-cut with the name of the park. These badges are adorable and make a great souvenir! All three of my kids participated and earned their Jr. Ranger Badges at each of the five parks. Even my oldest, who is almost 14, enjoyed collecting his badges! They all worked on the activities as we drove or were shuttled through the parks.
What airport should I fly into for the Mighty 5?
If you’re doing all five parks, your best option is to fly into Las Vegas, NV and out of Grand Junction, CO/Telluride, CO (or vice versa). Unfortunately, this was not a good option for us since flights were just too expensive. We would have saved quite a bit of driving time had this been an option. However, when we booked our flights, the cheapest we found was in and out of Salt Lake City, UT.
Our rental car was also significantly cheaper renting and returning it to the same location. We’ve picked up a car in one airport and dropped off at another and the one-way drop fees were not too high. However, that was not the case for this trip. Our standard SUV for 8 days was $392, but would have been over $800 if we picked it up from a different airport than where we dropped it off. So, we stuck with our roundtrip flight out of Salt Lake City.
What should I pack?
No matter where you go, I always suggest watching the weather and having at least on pair of pants/light jacket for warm areas and a pair of shorts/t-shirt for cooler places. You never know what type of weather you’ll get. There have been several times we were in Florida or on a cruise and it was chilly. I like to be prepared!
This trip was in mid-April, so the weather was all over the place. We started in Salt Lake City and it was cold! By the time we made our four-hour drive south to St. George, UT, it was 79 degrees! I was honestly fine in fleece-lined leggings and a hoodie. I just took my hoodie off and wore a t-shirt when I was hot.
The kids were in shorts and t-shirts almost the entire trip. However, Bryce Canyon was cooler as well as our last day in Moab so we needed layers, pants and windbreakers. It’s also still pretty cool in the evenings this time of year so having a combination of clothing is best.
In addition to your typical packing list, I’d include the following items:
Hiking Boots/Shoes
Not only is it nice to have some shoes that are dedicated to getting dirty, it’s important to have grippy shoes when you’re climbing rocks and hiking trails. In Utah, there were lots of hikes where we could climb on big rocks and regular tennis shoes with no traction just wouldn’t have cut it.
Hiking Poles
We didn’t use these on every hike, but they certainly make some hikes easier. They really come in handy on hikes where you’re climbing up/downhill. And I’d highly recommend them if you’re a little unsteady on your feet.
Layers
I already mentioned that I pack at least one pair of pants, shorts and a jacket no matter where we go. Layers certainly come in handy! We all have a rain jacket/windbreaker as well as a Columbia fleece base layer. These are perfect for keeping you warm and blocking wind when needed. Plus the rain jacket really doesn’t take up any space in our backpack/luggage!
Laundry Detergent
I can usually pack two bags for our family of five, but with hiking shoes, poles, etc., we ended up taking four bags this time. And that’s with me only packing half of our clothes since I planned to wash clothes half way through our trip. We were covered in so much sand/dust that washing clothes worked out well for us!
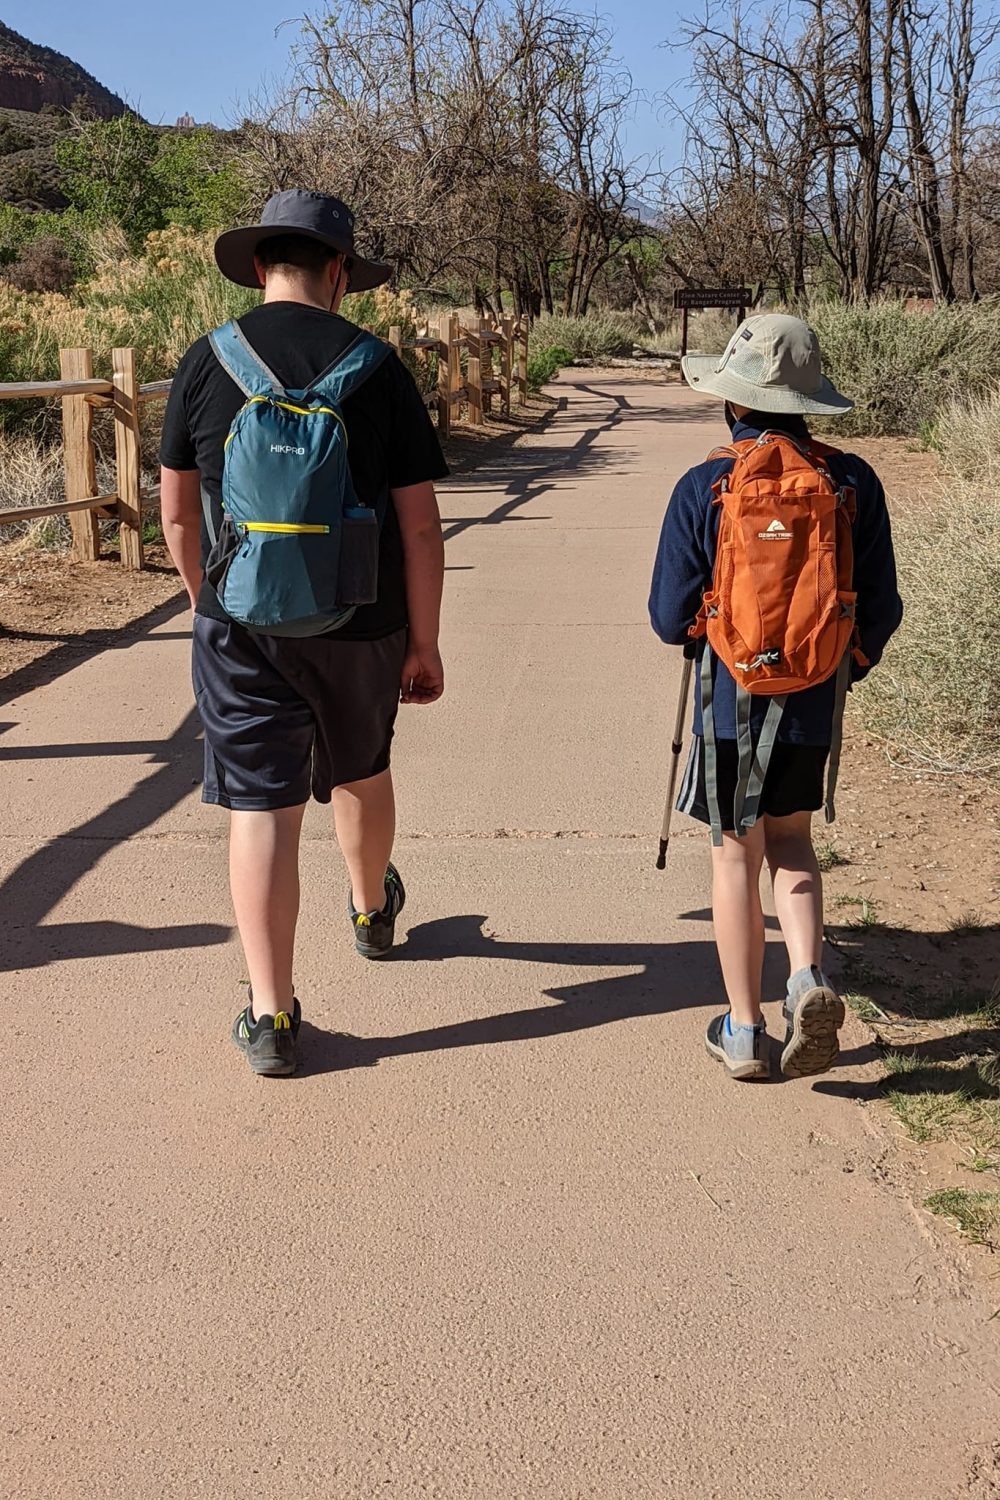
Backpack/Camelback
One of the most important things you need when you’re hiking is water! We all carried backpacks (with the exception of our youngest kiddo). Our middle kid carried our camelback, which holds water, plus carried his jacket and hiking pole.
Fanny Pack
I love my fanny pack for all trips! Even though I had my backpack, there were times when I took my backpack off and ran into a store/visitor center and my wallet was always with me. Plus, I had easy access to my Chapstick and sanitizer.
Hat (with strap)
My kids aren’t really “hat wearers,” but they all ended up wearing one for this trip. I forgot my baseball hat, but ended up wearing my son’s hat when he got a new one with straps at the park. The sun is strong—even having sunscreen on, I still burned. I ended up wearing a kid’s hat just to keep my face and neck covered!
Sunscreen
The sun is hot and there isn’t always shade so apply often!
Sunglasses
I can’t function without sunglasses so these are always with me!
Chapstick
Between the sun and the dryness of the desert, your skin and lips dry out fast. I constantly applied chapstick and I am glad I did! My kids didn’t apply as much as me and they paid for it.
Lotion
The air is dry and there is so much sand and dust so our hands and bodies were so dry. I normally carry lotion with me, but forgot it this time and the ones from some of the hotels just weren’t cutting it! Bring something that works well for your skin!
Saline Nasal Spray
The desert is dry, which means your nose dries out too! Saline spray helps keep it moist so it doesn’t get irritated.
Tissues
As much as our noses were dry, they were runny too! Keep some tissues in your bag for when you need them.
Moleskin
If you’re doing a lot of hiking, someone will likely end up with blisters. Cover your blisters with the moleskin to help heal them or wear it on places that get a lot of friction to prevent them!
Sanitizer
I think this is a pretty common item in most bags already, but it’s definitely a good thing to include! I like having a clip on version for my backpack giving me easy access.
Food/Snacks
Not only can you save money by packing a lunch in lieu of eating at a restaurant, but depending on what park you’re in and where you’re hiking, driving to a restaurant my not even be an option. I’d suggest packing snacks or food for even smaller hikes. We enjoyed having some picnics right in the park!
Camera
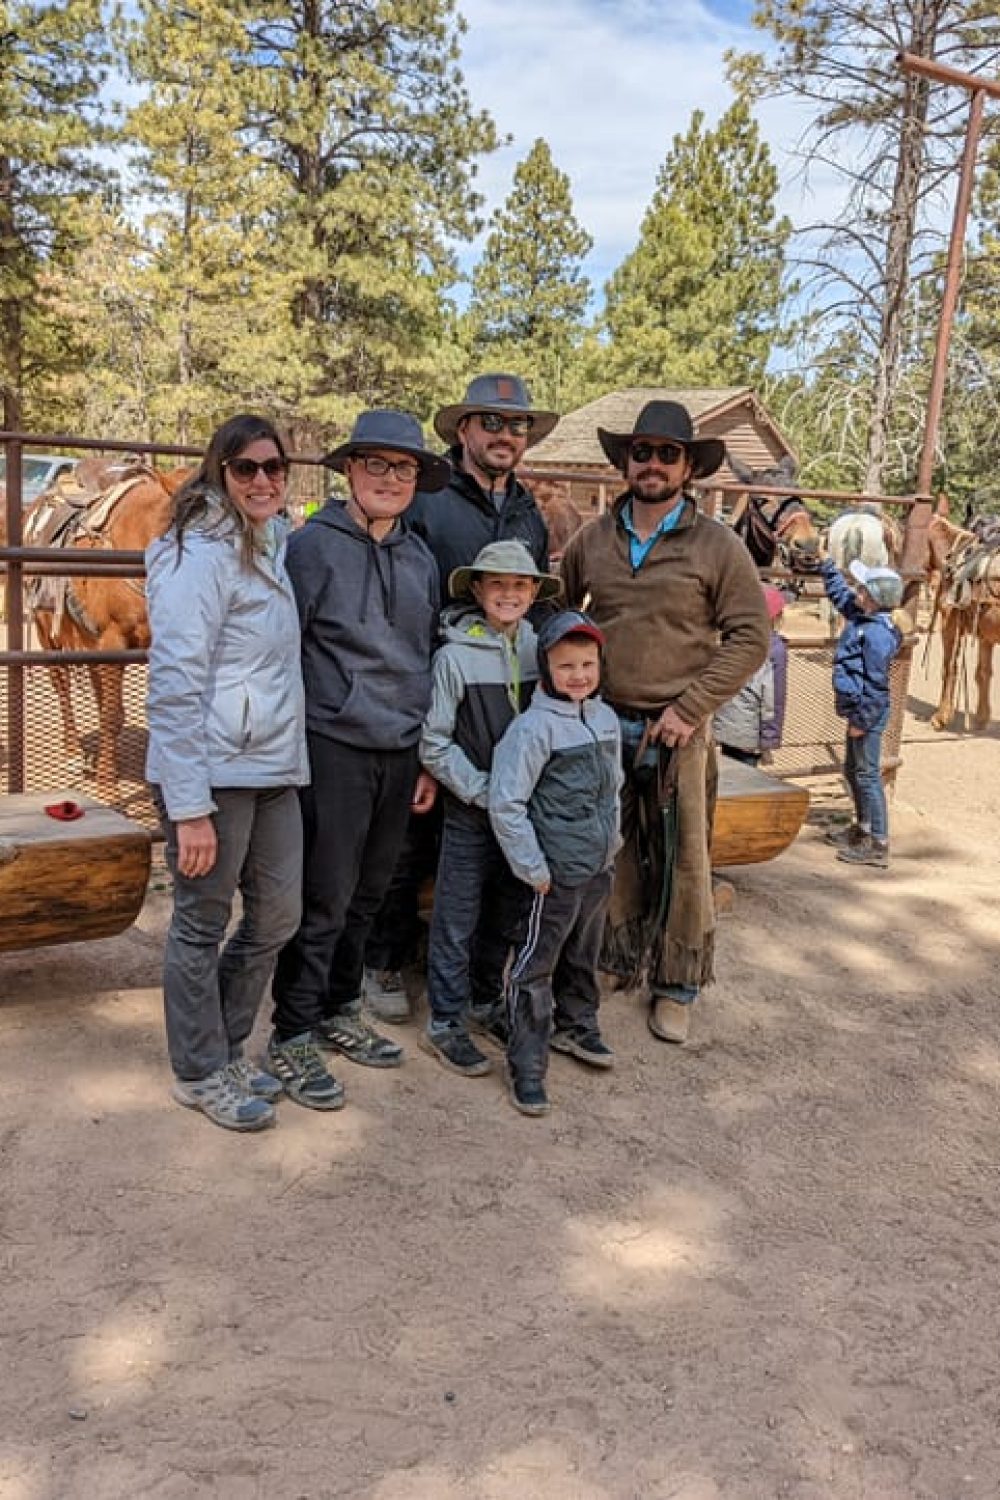
I think this one goes without saying, but don’t forget it! I have a DSLR camera, but honestly, my Pixel 6 took amazing photos! Plus, it lets me easily remove people from my pictures, which is so awesome! I love this lanyard for my phone—I can wear it around my neck or even as a crossbody so I don’t have to worry about dropping it. It really came in handy on our horseback ride!
Hiking Pants
Since we were hiking when the temps fluctuated, I ordered a couple pairs of fleece lined leggings. These were so comfortable and kept me warm when it was chilly, but didn’t make me super-hot in the sun either. My husband enjoyed wearing hiking pants vs. jeans too. Those added pockets come in handy. Plus, you can even get ones with zip off legs so you can start in pants and end in shorts as the day heats up!
Ready to plan your trip?
I am not one for spontaneity so I plan all of our trips. If you plan on heading to the Mighty 5 or any of the National Parks, do your homework! Some places require reservations to enter the park or even have lotteries set up for certain hikes. Stay tuned for posts about each of the parks we visited including our itineraries, lodging and activity recommendations, tips and photos!
Check out what we did in each of the National Parks (Zion, Bryce Canyon, Capitol Reef, Canyonlands and Arches) + Kanab, Utah!
Related Posts

See Why Boise, Idaho is a Perfect Family Destination
With our oldest quickly approaching his senior year of high school, we really started pushing…
June 26, 2026
How to get Hotel + Flights to Aruba for under $700 for 5 Nights
If Aruba is on your travel bucket list, check out how our family of 5…
January 25, 2026
Leave A Comment